Perfect Screen Capture Tool for Technical Professionals
A technical professional needs to bring his or her message across in a clear and efficient way.
If not, it costs time and potentially lots of money.
After working for 12 technical businesses, I've observed that rework caused by poor communication is one of the most expensive things in technical projects.
There are of course several ways of communicating a message. Like verbal or written. But I'm convinced that most often visual communication is the fastest and clearest way for technical professionals to share complex information.
Visual Communication
This is why I think using visuals to communicate (technical) information is so powerful.
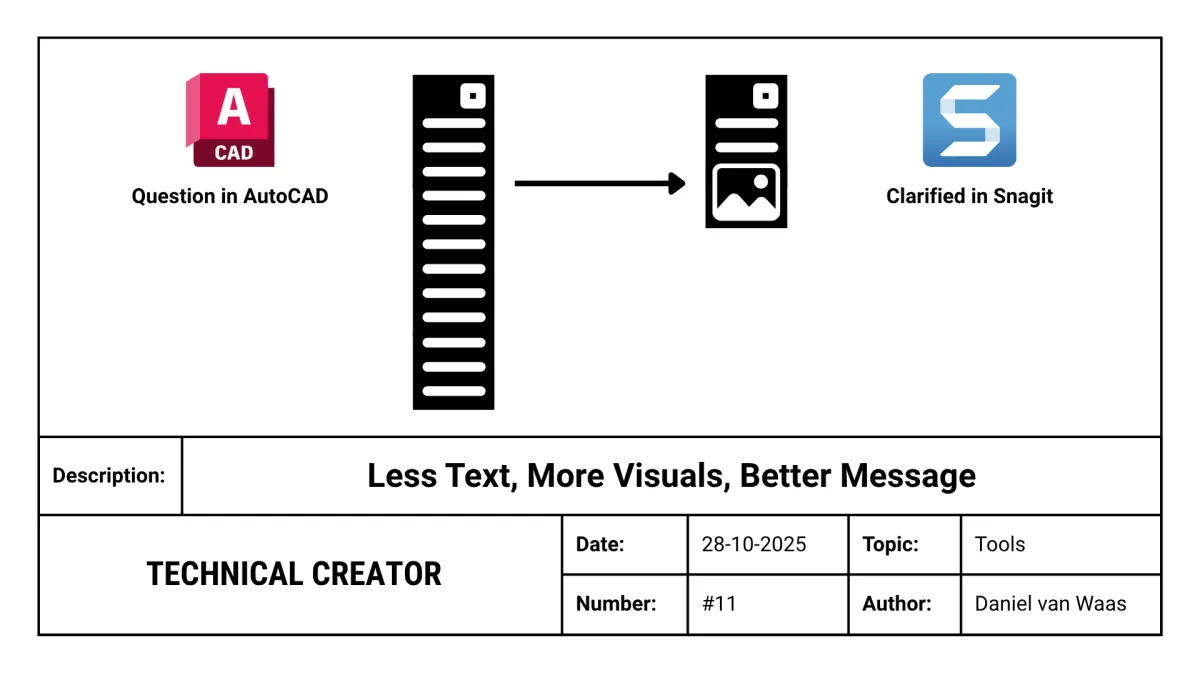
One visual can replace big sections of text
Visual communication reduces language barriers
You'll spend less time writing back-and-forth emails
Clear visuals reduce expensive mistakes and misunderstandings
The sender and receiver feel more confident the message is understood
These benefits make visual communication a great tool for anyone who emails a lot and makes proposals. Let me show you a simple tool that makes this easy.
Screen Capture Tool: Snagit
I’ve really become a fan of the screen capture tool Snagit because it works well with my CAD software AutoCAD.

It’s perfect for moments when you have these small questions while designing that need to be answered quickly to keep project progress moving.
But creating a full technical drawing with a title block for these small questions is just overkill.
In those situations, I use Snagit.
Let me show how I used it recently.
1. Center Image in AutoCAD
I had drawn steel pipework in AutoCAD where another contractor will connect to it once manufactured and installed.

And I needed to know what flange standard they were planning to use for the connection so the bolt holes would line up with the pipework I was designing.
So, I put the pipework in the center of my model.
2. Print
Click in AutoCAD on print in the top left-hand corner and select that you want to print with Snagit.

3. Drag a Window
At "What to plot" select Window and drag a window around the area that needs to be imported to Snagit.

4. Start Drawing In Snagit
After clicking on "Print," Snagit will open automatically and you can start drawing. I chose to add a magnifying glass to the drawing to really make it clear what area I have a question about.

5. Add Text
I decided to add a "Callout" to the drawing that pointed to the flange I had a question about and typed the following: "What will be the flange standard? Table E or Table D?"

6. Copy & Paste
You can add all sorts of items to the drawing, but to not spend too much time on it, I tidied up the image by cropping it, copied the image and pasted it in an email.

Now I can send it to the right person. And the person doesn’t have to guess what I'm talking about.
It's clear and quick.
I don't need to write long explanations or create a drawing in paper space.
This is why I love using Snagit. It turns my technical drawings into easy messages.
Conclusion
I believe visual communication helps technical professionals work faster and avoid costly rework.
Tools like Snagit make it easy to share clear information without writing long emails or creating full drawings. And of course, you can also you it outside of AutoCAD.
So if you are an engineer or designer, try it out. You might find it saves you time and makes your work easier to understand!
